Module #3:
Setting-Up Your Blog
In this module, we'll guide you through the process of setting up a basic but effective blog using WordPress. This blog will serve as your central platform for your content and AdSense monetization.
Selecting a Profitable Niche for AdSense Ads:
When it comes to AdSense, your niche selection is crucial for success. It should be a topic you are passionate about and one that has a substantial audience interested in it. Here are steps to identify a profitable niche:
Interest and Knowledge: Choose a niche you are knowledgeable about or have a strong interest in. This will make creating content easier and more enjoyable.
Long-term Viability: Consider the long-term potential of the niche. Is it a fad, or does it have staying power? Evergreen content tends to offer sustained traffic and income.
P.S. If you are the type of person who doesn't care about the topic of the blog and prefer to generate more money from high paying niches, here are the most profitable AdSense niches, ranked from highest profit to lowest:
- Marketing and Advertising: Extremely lucrative with high demand, significant investments by agencies
- Insurance: Offers substantial returns due to long-term investments and high payouts per lead
- Make Money Online: Increasingly popular with a growing demand for online income strategies
- Health and Fitness: Consistently in demand with a wide audience interested in various health topics
- Cryptocurrency: A rapidly growing market with a wide array of topics from trading to blockchain
- Automobile Dealership: High value conversions make it a competitive and profitable niche
Step 1: Starting with WordPress
• Choosing a Domain Name (.com), that is relevant to the niche you want to work in and a Hosting Provider: Start by selecting a reliable hosting provider that offers easy WordPress installation. Look for providers with good uptime, customer support, and WordPress-specific services.
As for the domain, be sure it's relevant to the niche you will be working. For example, if you are doing the 'insurance' niche, your domain could be www.insurancehub.com (Just an example)...
I personally use NameCheap to buy my domain and get hosting. They have good uptime, customer support, and WordPress-specific services.
See how easy it is to buy a domain and hosting on NameCheap: Click Here
See how easy it is to install WordPress in NameCheap: Click Here
Step 2: Selecting a Theme
• Choose a WordPress theme that is clean, responsive, and SEO-friendly. The theme should be visually appealing but also optimized for speed and performance.
Top 10 recommended free WordPress Themes: Click Here
Step 3: Configuring Basic Settings
• Set your site title, tagline under WordPress settings. See How Here
• Ensure that your permalink structure is set to 'Post Name' for better SEO. See How Here
Step 4: Installing Google Analytics Plugin
• Google Analytics is crucial for tracking your site's performance. See How To Connect It To Your Blog Here
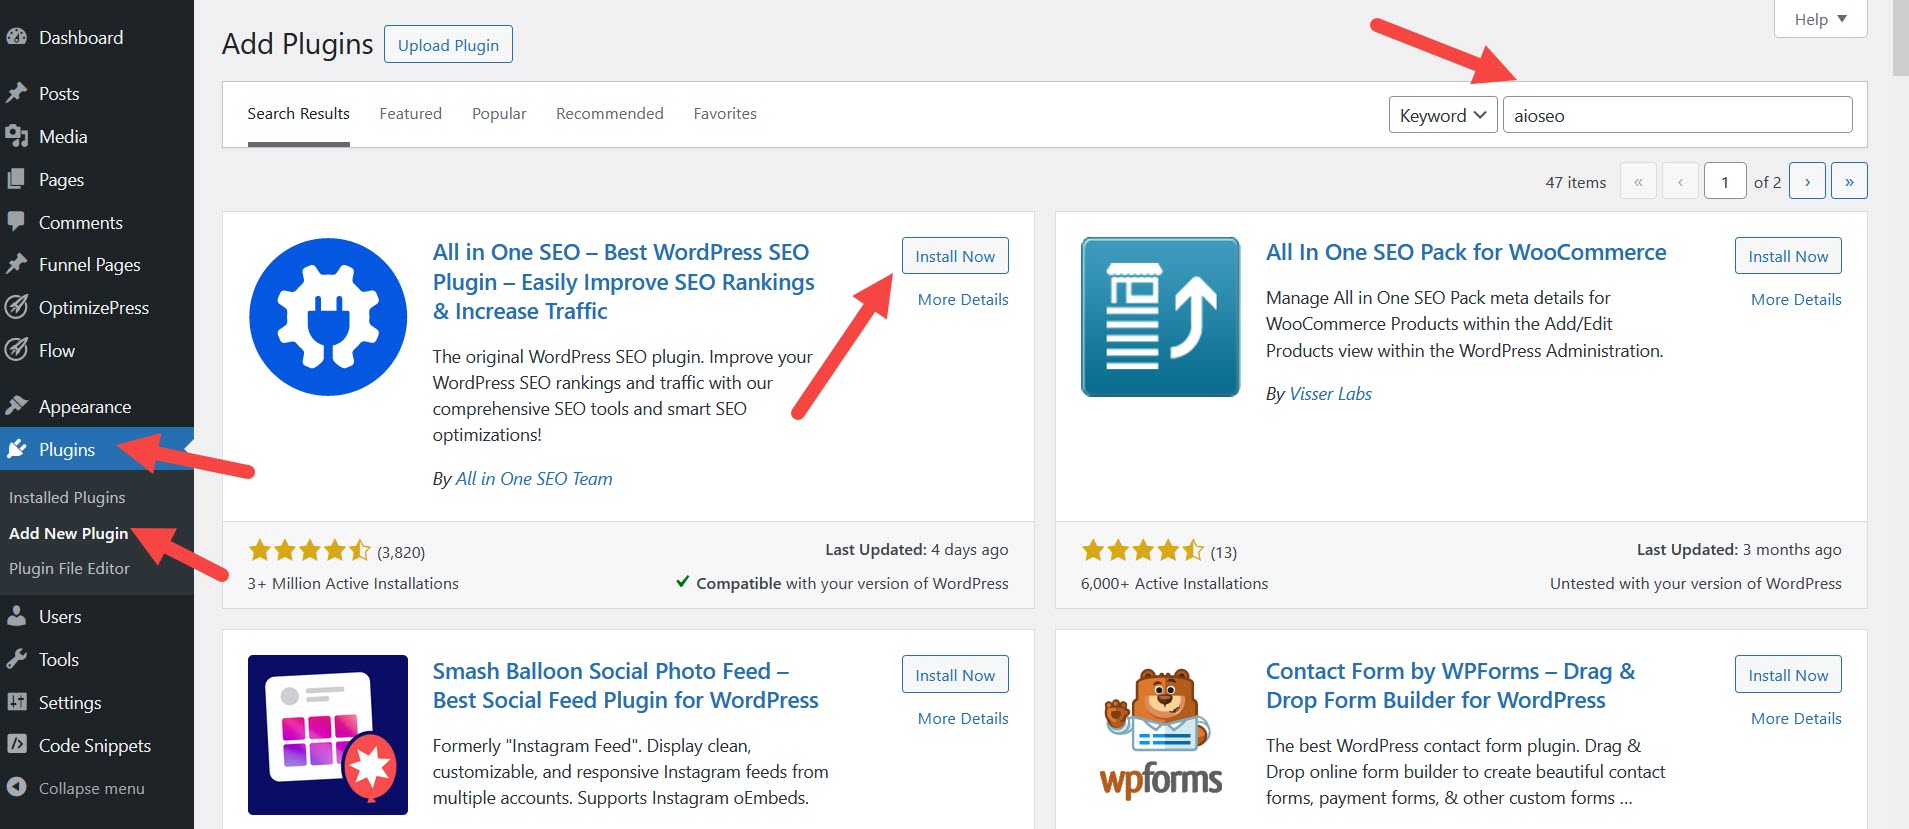
Step 5: Installing AIOSEO Plugin
• The All in One SEO plugin (free version) is instrumental in optimizing your site for search engines. For sure, the paid version is even better, but not necessary.

• After installing AIOSEO, configure the basic settings like your home page title and meta description.
• Use AIOSEO to generate an XML sitemap and submit it to Google Search Console, which helps in indexing your site.
See How To Configure AIOSEO Here
Remember, the goal of your WordPress site is not just to host content but to act as a hub for your content and AdSense efforts. A well-set-up site aids in building credibility and enhances your overall online presence.
In the next modules, we'll explore signing up for AdSense, conducting keyword research, choosing the right free traffic platforms, and strategies for interlinking your content for maximum impact.

To your success,
Michel Sirois
P.S. You have questions or need support? We are here for you!
Contact Michel On Facebook: Click Here
Contact Michel On Skype: Misteremarketing
P.P.S. You want help to get started with something that is entirely 'CUSTOM MADE'?... Or perhaps you need '1 On 1' coaching?Learn More About Who We Are And What We Do: Imtrainingconsultants.com
Income Disclosure | Terms & Conditions | DMCA Notice | FTC Statement | Privacy | Contact
© 2013-2025 Scalable PLR Products. All Rights Reserved.